Sunday 29 July 2012

Chocolate Weetabix Loaf Cake

This indulgent treat is a little out of the ordinary, and potentially much healthier than normal cake, considering the basic ingredients. There are a variety of standard recipes on the internet, but I wanted to add a twist!


For this cake you will need:
2 weetabix biscuits (any brand works)
2/3 cup caster sugar
1/3 cup brown sugar (for taste, using whole cup caster works too)
1 and 1/3 cup self raising flour
1 and 1/2 tbsp cocoa powder
1/2 tsp ground cinnamon
a handful of chocolate drops (i used chopped up chocolate buttons, but you could add dried fruit instead or as well)
250ml milk
1 egg, lightly beaten (optional)
A loaf tin - I used a fairly large loaf tin, but a small deep tin will work just as well. 

  1. Preheat your oven to 180C/Fan 165C/Gas 4 then grease and line your loaf tin.
  2. Crush the 2 weetabix into a bowl with your hands to make fine crumbs.
  3. Add the dry ingredients and mix in well. At this point most people would say with a wooden spoon, but I used a metal one because it was at hand!
  4. If you are using an egg, beat this lightly in a measuring jug and add enough milk to make up to 250ml. alternatively, just use 250ml milk.
  5. Pour (with some assistance and its a sticky mixture!) into your loaf tin and put it in the preheated oven. It should take around 40-60 minutes to cook, depending on your oven and how deeply your tin is filled. Mine was ready in 40 minutes and was delicious.
  6. Once golden and a little crispy on top, check with a clean knife.
  7. When cool enough to handle, tip onto a wire rack and remove lining paper.
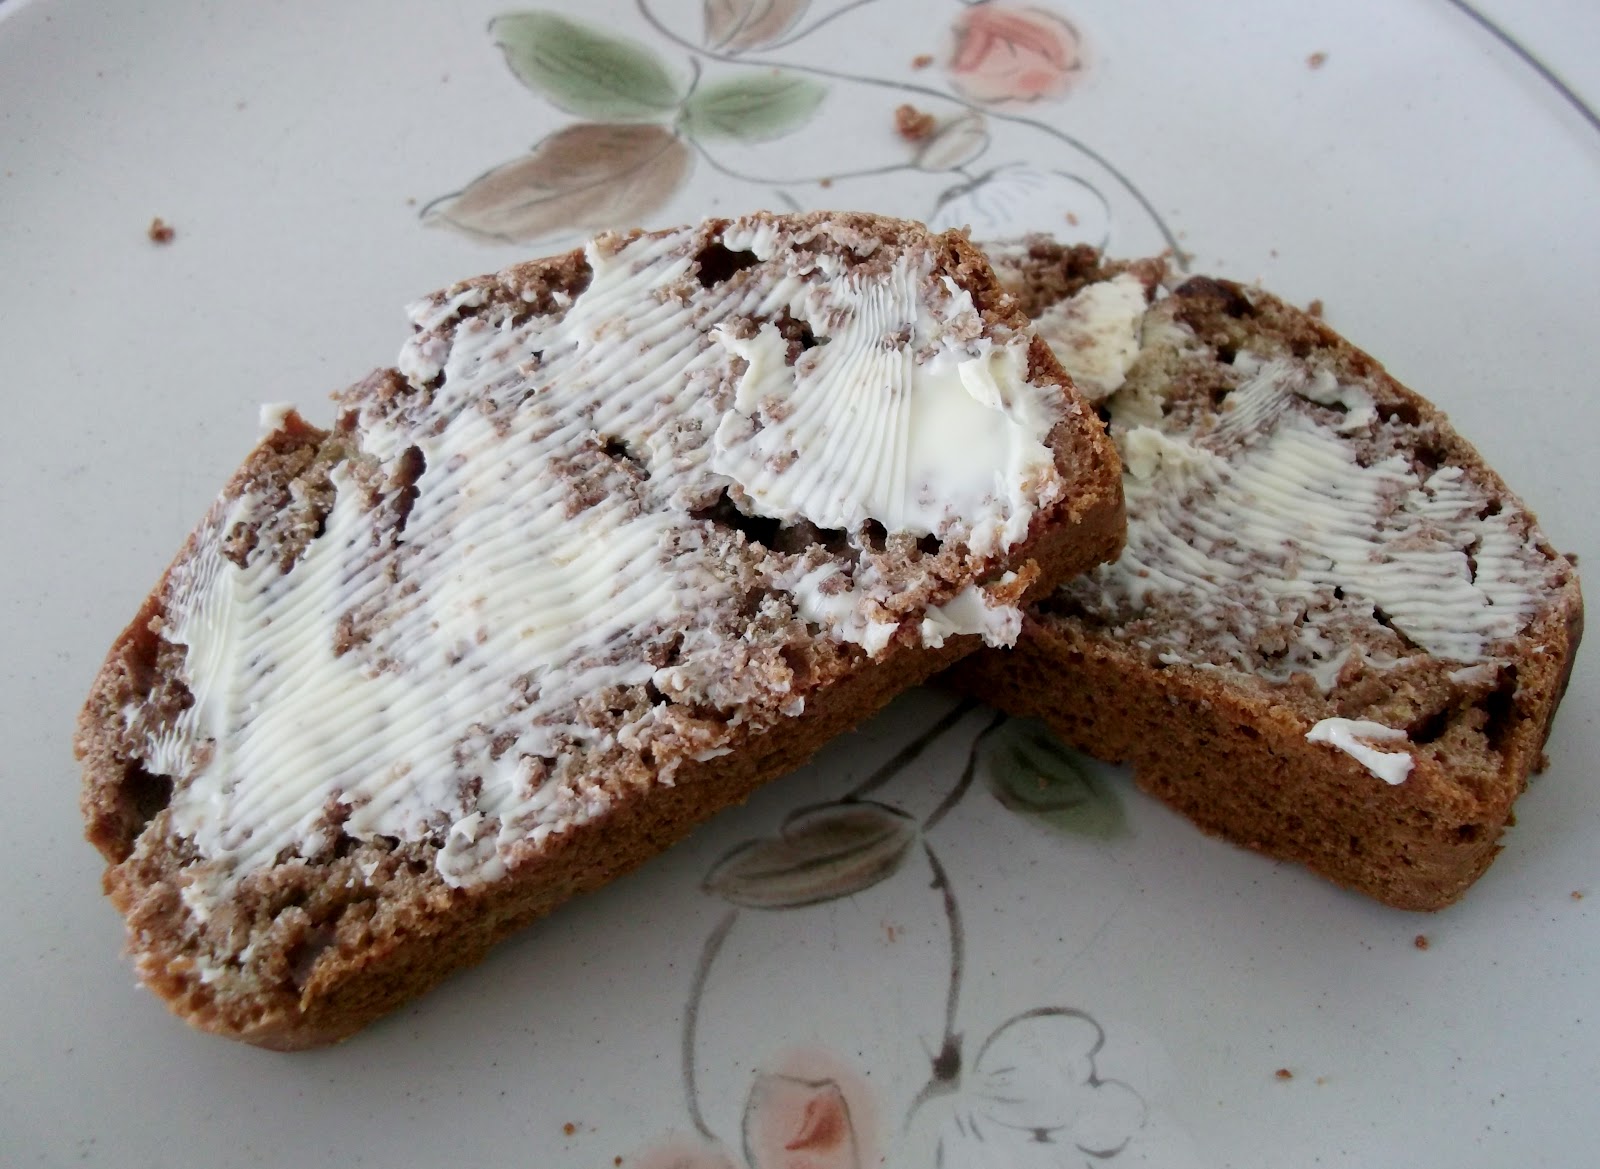
Ready for devouring!

Slice and enjoy with lashings of butter! (I did say it was only potentially healthier!)


Saturday 28 July 2012

So I haven't had much time to bake lately, I haven't had much time for anything really. Life is having one of those non-stop hectic moments and I'm struggling to keep up. A few months ago I was diagnosed with suspected IBS, which at the time was fairly devestating news. So many friends suffer from this chronic condition, and I didn't want the same struggle for myself. Selfish I know. I've managed fairly well, take tablets and treatments daily to ease the symptoms, but now and then I get bouts of pain that are unbelievable and without remedy. This weekend I'm having one such bout, and all I want to do is curl up in bed with a hot water bottle and a big bar of chocolate. Unfortunately summer showed up, so it's too warm for hot water bottles, and chocolate is one of my IBS's biggest enemies. Sucks, right? I know this has nothing much to do with baking, but I guess the two are related, I've not had as much time to bake lately, because I've been worried on the affect it may have on my condition. Maybe I will try some tummy friendly recipes some time soon... As for life, it can wait for me to catch up, I need a break, even if that means a weekend called in sick at work...

Wednesday 13 June 2012

So I appear to have the baking bug again... I am completely addicted to THINKING about making cakes, I just don't seem to have the time to bake them... I've kinda set myself a challenge of baking weekly and swimming at least once a week. I Guess the two balance each other out? I decided to make some bog-standard (but incredibly delicious) chocolate coated fairy cakes last night and here they are! The recipe for this is one I know off by heart and can measure without aids, considering my grandmother and mother taught me it many years ago! Recipe for Chocolate Coated Fairy Cakes Cakes: 4oz Self-Raising Flour 4oz Caster Sugar 4oz Butter 1 Large or 2 small/medium eggs Splash of vanilla Cream the sugar and butter together. I do this by hand because I don't trust electric whisks haha! (Traditionalist!) Beat in the eggs until smooth and runny. Add flour gradually, stirring vigorously. If too thick, add splashes of milk. Vanilla always goes in last. I don't really know why! Give it another good mix, separate into 12 bun cases and stick in the oven at around 180C. It takes between 10-15 minutes depending on the oven you use, so keep an eye on them, you want them just as they turn golden and glowing! Icing: about 4oz melted chocolate (I used Ritter milk because I had some lying around, but any good eating/cooking chocolate works fine) splash of milk 1-2oz icing sugar Melt the chocolate (I use the microwave but this doesn't work too well with some chocolates like galaxy) Stir in the icing sugar in small amounts at a time, beating to keep it smooth. If it's too stiff to spread smoothly (i use a rubber spatula to decorate the cakes)then add a splash of milk! To decorate I would usually use sprinkles, chocolate buttons, fancy piped icing etc... This time I left them plain and simple (probably because I decorated them at 10pm last night!). Enjoy, my friends sure did.

Tuesday 1 May 2012

It's been a while...

I haven't had much time for baking and when i have i've had no time for blogging. So here is a snippet of a delicious recipe i discovered lately :P Butterfly sugar biscuits with white chocolate icing :)

Thursday 16 February 2012

Cupcake Fun


Today has been a very long day and I well deserve a break, hence my desire to bake!

I made a batch of plain cupcakes and decided to have a quick play with my new icing bag from Christmas. The results aren't perfection, but it was fun and now I'm relaxed and happy :D

I found some sugar flower sprinkles to decorate them with and think the effect is wonderful and easy :)

Thursday 9 February 2012

The rocky road to happiness


Today I made time to bake :D

I'm still feeling poorly and a little sorry for myself with wisdom tooth and ear pain, so I decided to spend an hour doing something very terribly not to do with research. It was worth it.


These Rocky Road muffins are delicious. Chocolatey cakey goodness filled with white chocolate chips and mini marshmallow pieces. Absolutely worth an hour off my research!

Wednesday 8 February 2012

A bit of sparkle in my life...

I've been a busy bee and a bit under the weather the last week or so, and haven't really had a chance to make or bake anything, so here are some cupcakes I made a while back.


They're my own take on red velvet, because they are more chocolatey and pink! And glittery...

Pink velvet is definitely the way forward, especially considering how yummy these cupcakes were!